When packaging products, or packing up for a move, one of the helpful skills is learning how to fold a cardboard box. Knowing how to fold a box is a skill that may not seem like much now, but it will come in handy at some point in your life.
Certain boxes are easier to fold than others. Make sure most of the cardboard boxes are on the smaller side to prevent over-packing, which can lead to breakages. Before you begin working on the structure of the box, you need to ensure the box can safely hold items. Otherwise, there’s no point in learning how to fold a box that will break apart anyway.
Professional movers are better at packing stuff, mainly because they’re also experts at how to fold a cardboard box. If you want to be just as good as the professionals, here are nine steps that will teach you how to fold a cardboard box:
Step #1: Locate the box flaps

The first step in how to fold a cardboard box is to sit the flattened box upright. The flaps are usually located at the top of a box. When unfolded, this section can be a challenge to identify.
To locate the top part of your box, look for the flaps, which are connected by small cardboard tabs. These tabs are only found at the top flaps of a box. Also, look for arrows or letters on the box to help you locate the top part.
Step #2: Fold the top flaps down
Once you find the top flaps, fold them all the way down, so they touch the outside surface of the box on both sides. Keep the box flat when you’re folding down the flaps. It should still lie flat after the flaps are folded down. This is the best position to fold a cardboard box.
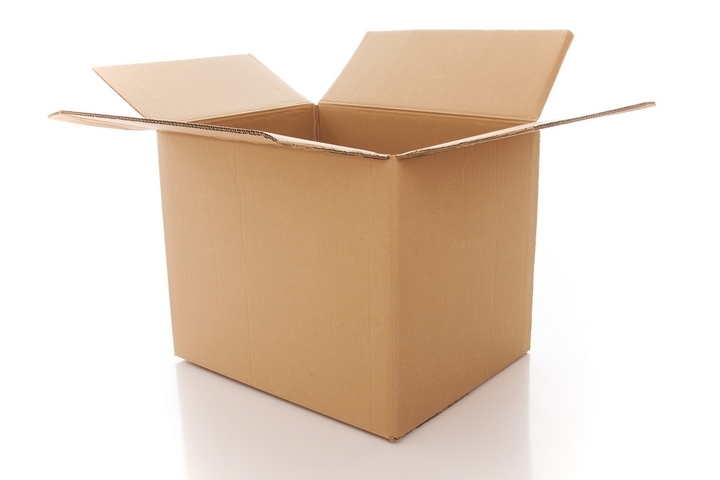
Step #3: Open the cardboard box

Open the box such that it’s not flat, and position it into a rectangular 3D-shape. To open it up, pull the corners of the opposite sides of your flattened box away from each other. At this point, things should start looking familiar, as it will form a square shape.
Make sure the top flaps are still folded down after opening the box. The cardboard tabs will lock them in place, but if your box doesn’t feature lock tabs, you’ll have to manually fold the top flaps down to make sure they’re not in your way. The box is still hollow at this point.
Step #4: Tape the bottom of the cardboard box
Now, turn the cardboard box upside down. The folded-down flaps meant to be at the top of the box should be touching the surface you’re working on. The four bottom flaps should be extending towards the ceiling. Positioning it this way makes taping and folding the bottom part of the box easier.
Step #5: Fold the bottom flaps
Start by folding down the shorter flaps of the cardboard box first, followed by the longer ones. The long flaps will form a seam, which you can tape over later. Once all the bottom flaps have been folded down, you won’t be able to see through the box anymore.
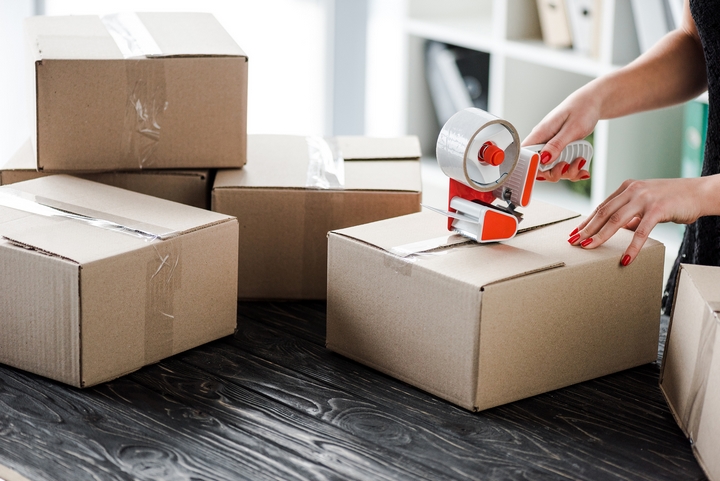
Step #6: Tape the box seams
Make sure you’re using packaging tape. Avoid masking and cellophane tape as they are not as strong or secure. To ensure the tape has a firm grip on the box, have both of its ends go 2-3 inches, or 5 to 8 cm, up the sides of the cardboard box.
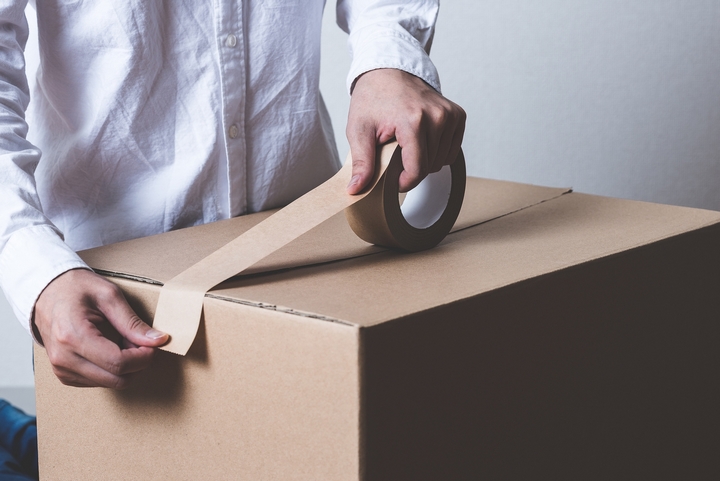
Step #7: Tape the box along each side
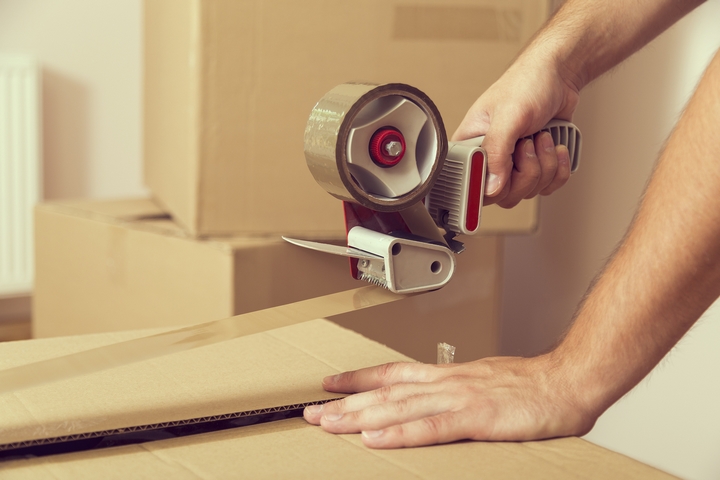
To reinforce the grip of the tape, run extra tape along and across the first piece. Make sure they touch the side of the box. This will further secure the box flaps.
Adding the extra layer of tape makes the bottom of a box extra secure. So, it isn’t necessary to cover the entire length of the seam again.
Step #8: Use hot glue or staples
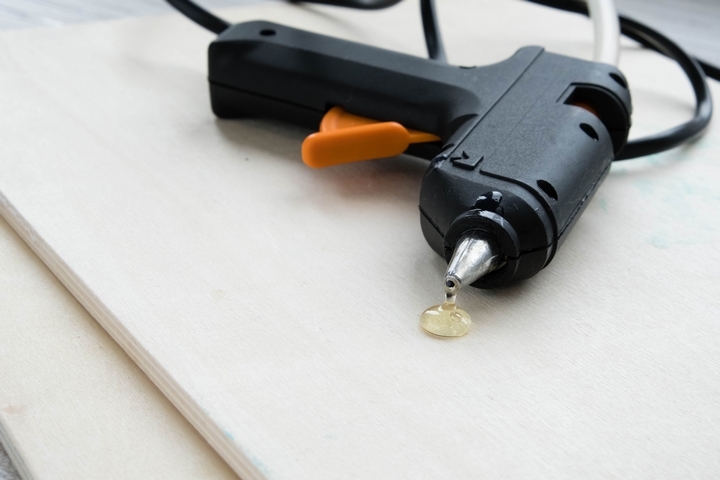
Hot glue is an excellent alternative to tape. It keeps the flaps closed for as long as you want them. Spread hot glue in a straight line across the folds; then, let it dry.
For better control, use a glue gun. Staples can also be used as an alternative to tape, but professional gear will be needed for the job. If you’re working with a thin box, try using home staplers.
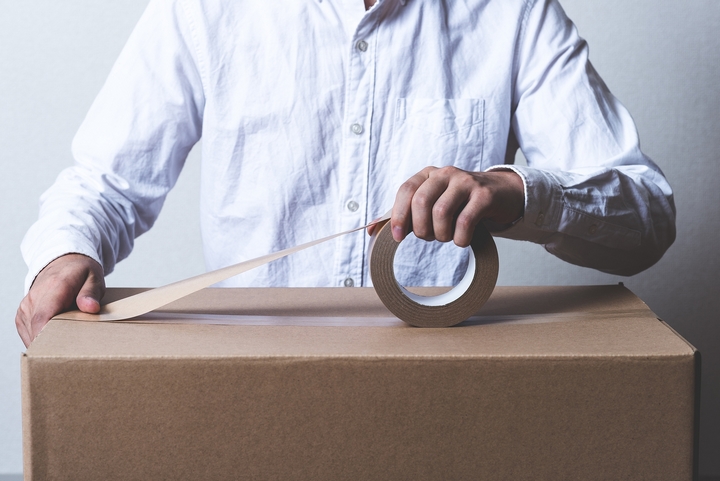
Step #9: Pack and close the cardboard box
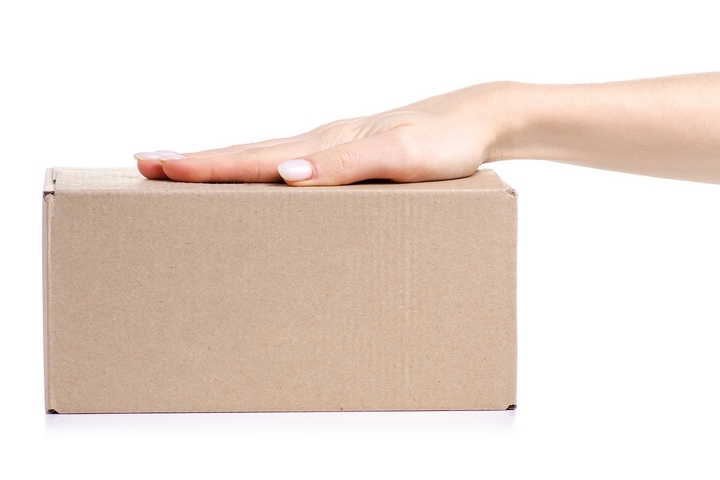
Read the bottom of the box to know precisely how much weight it’s designed to carry. This keeps the box from tearing during a move. Next, pack your items in the box without exceeding the weight limit. Avoid sticking things over the rim of the box as it makes it difficult to close the box.
Using a utility knife, carefully cut the tabs holding the flaps together. Freeing the flaps enables one to fold them so the box can close. Some flaps may not have tabs, in which case you don’t need to do this. Once the flaps are free, fold them down over each other. Fold the short flaps first and then the long ones. Don’t interweave them into each other, especially if you intend to reuse the boxes.
Interweaving makes the flaps weak, causing them to tear and damage over time. Finally, confirm that nothing is sticking out, then tape the top of your moving box.