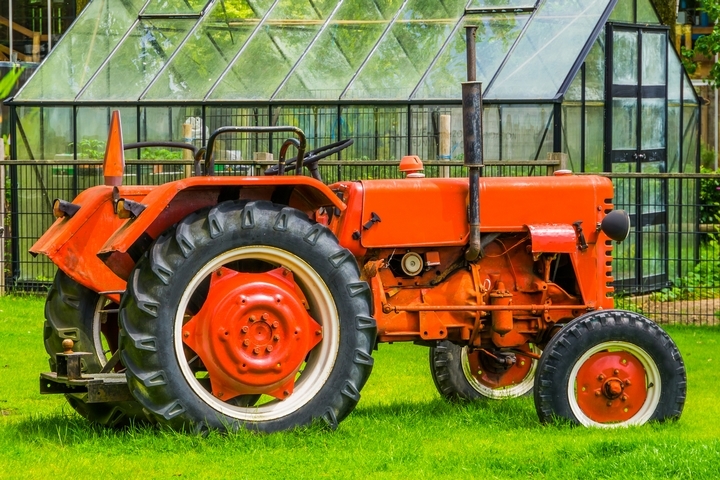
Tractors are one of the most popularly used motor vehicles, after standard cars, especially in agriculture-based countries. Statistics show that the Canadian tractor market might rise 3.9% from 33K units in 2021 to 43K in the next five years.To benefit from a productive motor vehicle, you must understand how to drive it and practice its basic instructions. This blog will teach you how to drive a tractor around your precious farm and beyond.
Step #1: Learn safety measures for tractors
Like any other vehicle, you must prioritize your safety and that of those around the vehicle before starting it. The primary safety measures include:
- Understanding the general traffic rules alongside those directly tied to tractors to avoid messing with the law and, unfortunately, causing accidents.
- Allowing only one driver at a time in the tractor as they are strictly designed to host a single driver and not two or more. Having two or more drivers in a single tractor increases the chances of injuries.
- Performing regular maintenance on the tractor to evaluate possible repair problems to minimize the chances of mechanical breakdowns and accidents.
- Constantly wear protective footwear and clothing when driving a tractor to avoid possible accidents. The ideal footwear and apparel for driving a tractor include a dangling jewelry-free garment, well-fit clothes, good boots with gripping soles, and well-tied hair to avoid accidents.
Other safety measures for driving a tractor include climbing the vehicle using both hands and ensuring the vehicle has enough fuel and oil before starting your task for the day. Remember to maintain the stipulated speed limit and keep your eyes focused on the road or farm and your hands on the steering wheel when driving.
You should also never leave the tractor engine running or the key inside when not using the tractor.
Step #2: Inspect the tractor
A critical step to driving a tractor is to inspect the vehicle before starting it to evaluate various issues such as safety measures and tire pressure. Driving with low pressure in one or two tires can cause accidents and lead to poor performance of the tractor.
Additionally, all the other safety measures stated above should keep you (the driver) and anyone else around safe at all times. Consult with your tractor dealer if you have any questions about the equipment.
Step #3: Get in the tractor and start the engine

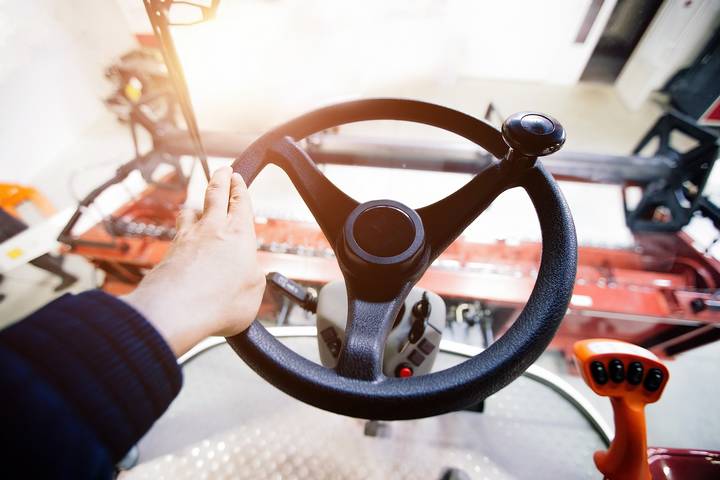
With a 100% tractor inspection, you can confidently start the vehicle’s engine. Before reaching the key, ensure you’ve firmly secured yourself on the seat to get the steering wheel and other controls without a strain on your feet and hands. Also, ensure your seatbelt is on before starting the engine for more safety.
Step #4: Press the clutch pedal and engage the break

Now that you’re settled, you can press the clutch pedal, usually situated down to the floor, using your left foot until it reaches the floorboard. That’s to ensure a neutral transmission before you turn the tractor on. Proceed to engage the break using your right foot while entering the key to start the engine.
After turning it on, you can drop the throttle weakening, allowing the engine to warm up slightly in readiness for the task. When you drive immediately without letting a slight warm-up on the machine, you will likely attract a mechanical breakdown.
Step #5: Release the parking brake and remove your foot from the clutch

Since the tractor was most likely on a parking brake, you can release it to prepare for the drive. While releasing the brake, keep holding the clutch to the floor as you put the transmission into first gear. Again, it would help if you were slow when releasing the clutch to avoid possible breakdowns and instability as the tractor starts moving.
Step #6: Choose and maintain a slow speed
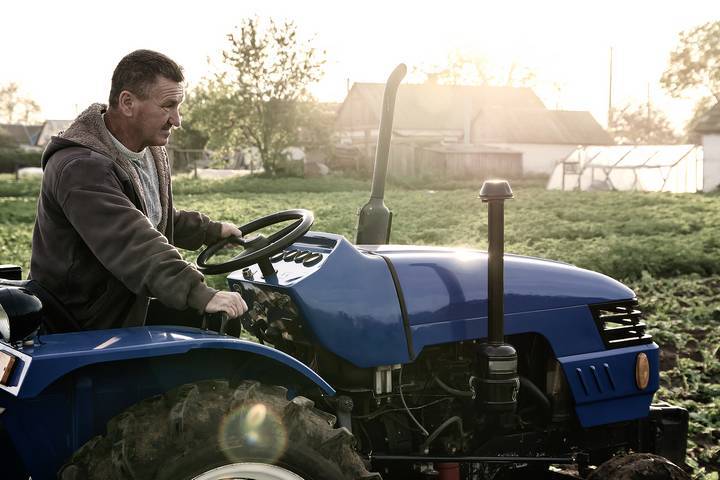
Unlike other standard vehicles, tractors are uniquely for high speed but mainly for increased power and more robust durability. Instead of changing the speed regularly, go slowly across the hills and curves with a focused eye. For instance, if you’re using attachments, be highly cautious with the turns to avoid accidents.
There are five main gears in a tractor’s transmission box, including the first gear, which controls the amount of gasoline entering the engine, and the second gear, which gives the tires a better grip, especially on an icy, wet, or slippery road.
The third one deters the gearbox from changing into more incredible gear. Others include the fourth gear, responsible for enhancing the speed beyond where the first gear can, and the reverse gear, which enables the tractor to move backward during the reserve.
Step #7: Stopping the tractor

When you want to stop the tractor, choose an ideal environment for ample parking where space and safety are guaranteed. Gradually reduce the speed as you approach the parking area, slowly place your left foot on the clutch, and change the gears to neutral (usually initialized as N). You can pull up the parking brake to prevent the tractor from moving accidentally.
Stopping the tractor, especially on a steep or slopy area, without applying the parking brakes might be risky. After successful parking, turn the engine off and remember not to leave the key on the ignition. Above all, ensure your parking spot adheres to the local laws regarding parking tractors.
Driving a tractor is one of the most technically-demanding tasks. Thus, it requires maximum practice and concentration to deter possible accidents. Hopefully, the above steps will guide you on successfully driving a tractor. If you find it challenging, you can always engage an expert in driving tractors to help with the journey.